

Golden
-
Content Count
305 -
Joined
-
Last visited
Posts posted by Golden
-
-
-
Please could someone recommend a crimping tool for servo connectors. I’m trying to make up some leads, but have really cheap crimpers and they’re (I’m….) making a hash of it. I’m in the UK if that makes any difference as to availability…. Think there are ratcheting types - but no idea on which ones to go for.
Many thanks!
-
-
Forgot to update. Ta-da….

-
 4
4
-
-
Ah thanks for that. I’m in the UK - so it didn’t come up. I’ll get it sent to a friend’s house.
There are a few pre assembled lines with plugs available here, but I’m after a length of cable like you’ve posted a link to, so I make up a few of them.
I searched for “receiver wire” so that might help too.
-
Please could someone recommend where to get three wire black servo cable from? I need to rewire a few black low-profile servos, as the standard leads are too short. I’ll either make extension harnesses or resolder them - but want to use black cable, not the brown and orange stuff or black, red, white either…
I can’t seem to find any?
-
Any views on how the diff should operate and feel? As mentioned, if I tip the car onto its front wheels and turn the rears, the fronts don’t try to drag the car forwards, the diff just slips with a slight bite to it.
many thanks!
-
Thanks - Just watched a video from Mick on his RC Hobby Shed you tube channel (in his avante build) and he used acetone to clean up the mess and then a light polish afterwards - and it looked pretty good.
-
Minor follow up. Have now built the shocks and attached the wheels (OMG it took AGES for the bubbles to disappear from the shocks….). It sounds pretty smooth with some power through it - but the diff feels really loose? If I lift the rear wheels, so the car is only on the front wheels, and turn both rear wheels together in the same direction, I can feel slight resistance from the centre diff, but it doesn’t pull the car forward/front wheels won’t drag it forwards.
It feels the same/ish as my VQS - and that runs really well - but no where near as tight as my Top Force Evo (which I think has an adjustable diff).
Anyone have any experience with this/let me know if it sounds right - maybe too much ball diff grease? I was very careful with building it/getting things in the right order, and have built similar types of diffs before as mentioned - but there’s always scope for messing it up….
Many thanks (again…!)!
-
-
Thank you for this - it just looked like the moulding in the gearbox for the bearing wasn’t angled to take the bearing correctly (the moulding looks square-on, whereas, as you rightly note, the bearing and diff and motor pinion are canted/angled slightly). It might well be that the pinion is meshed too tightly. I’ll have a play…
I’m working through the build in order of the manual - and am just about to build the shocks.
I’m using a savox low profile servo, which is black anodised aluminium, and looks great - but has super short wires. Think I need to find a black extension!Does anyone use super glue to seal the carbon fibre deck edges? As mentioned, I have cleaned mine up and it looks fine - but what a mess and took AGES to gently sand and polish.
This car will be a runner, as (please don’t hate me….) I have another one which is nib and will be a shelf queen😳- and there's no way I am applying super glue to that one based on my recent experience!
Thanks again for everyone’s input.
-
Ah - thankyou for this. I did spin the motor up and it didn’t seem to catch, and sounded ok. Shall power through the build and can’t wait to get it up and running. Thanks again!
-
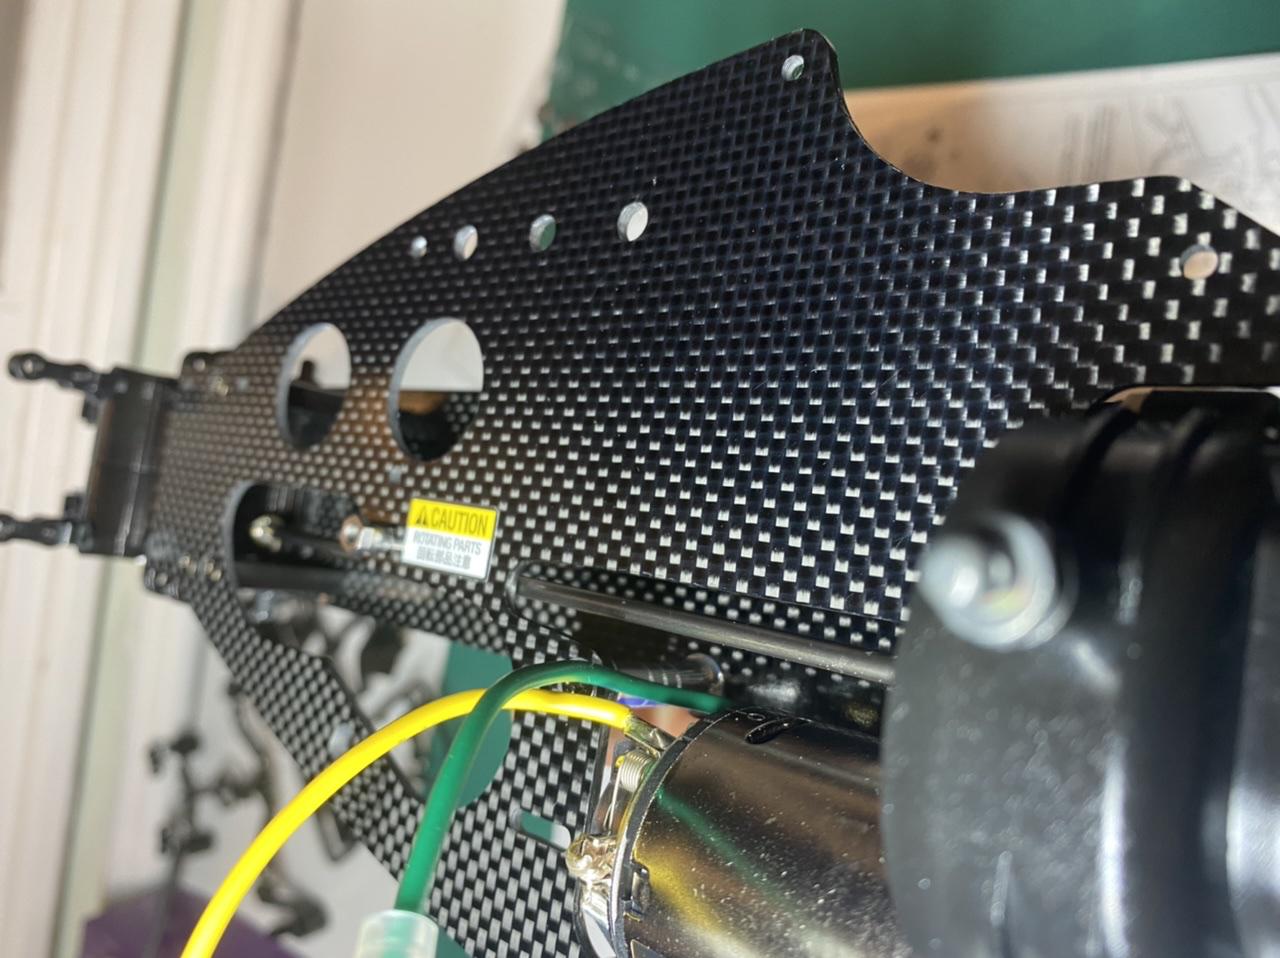
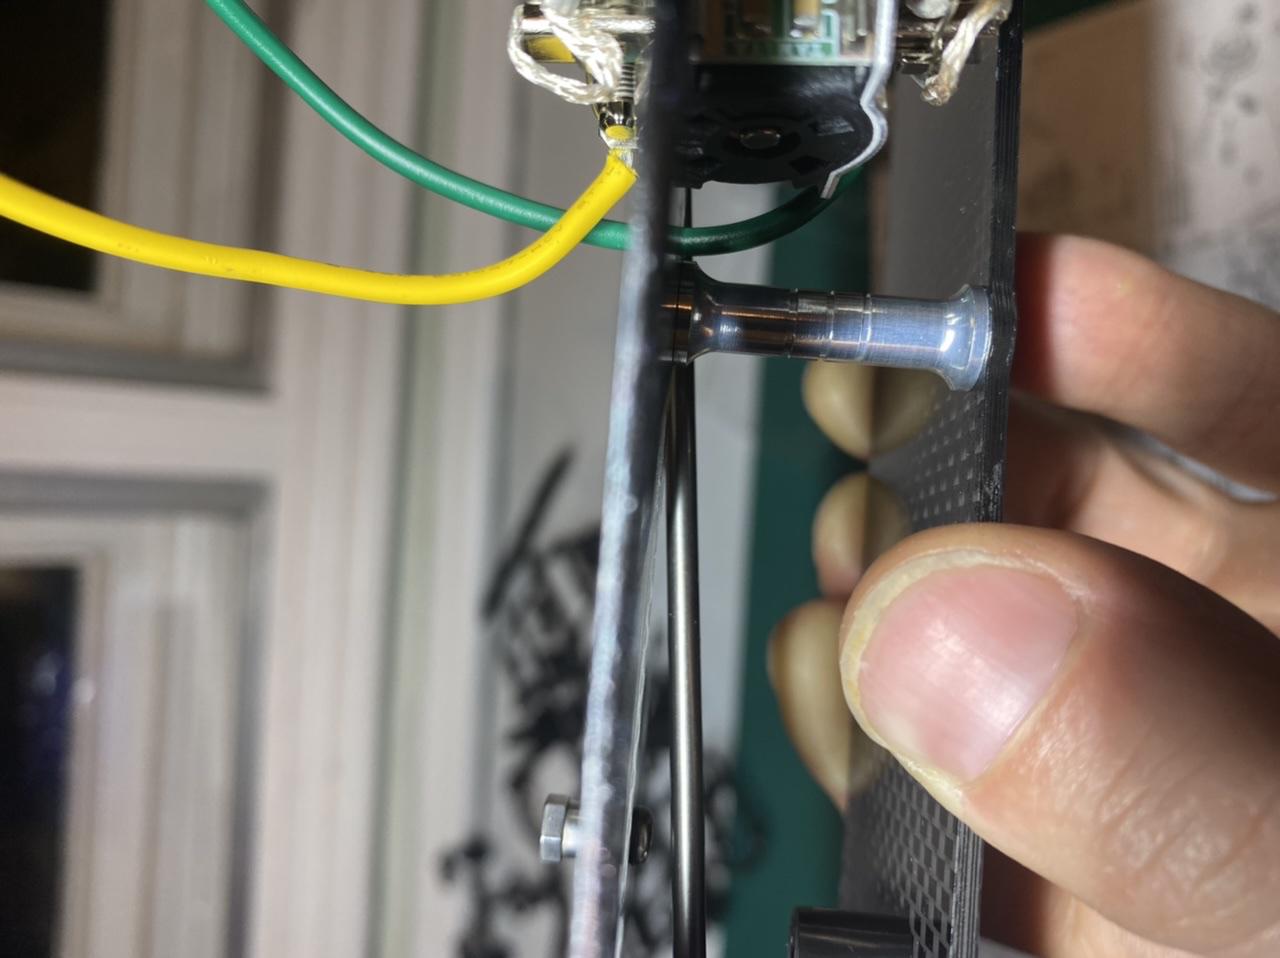
Hi All - I’ve almost finished my Avante build, and was hoping to check a couple of points.
There is possibly less than 1mm of clearance between the prop shaft and the top deck as it passes below it - is that right???
And… the bearing on the ball diff which seats into the rear part of the gearbox housing doesn’t seem to sit square. The diff has to sit at an angle so it meshes with the motor pinion - but the bearing doesn’t seem to seat into casing flush, but at an angle in the holder moulded into the casing?
Have I messed it up…(!?)
pics below… and - I am NEVER using super glue to seal the edges of carbon fibre decks again….. made a complete mess and had to sand with super fine micro mesh and ultra fine car polish for hours to fix it!
As always, very gateful for advice.
-
Thanks - still not made the time to finish it off yet!
Love the Alipne btw. I have a new release jaegermeister - but kind of want a blue one!
-
1
-
-
9 minutes ago, alvinlwh said:Again, 1:10/12 is easy, 1:24/35/72 are the tricky ones. One trick about painting drivers, paint markers. 😉
I disagree. The bigger the scale, then the longer the duration of painting - and hence the larger the scope for caffeine induced shakey hands to mess it up!
-
 1
1
-
-
Thank you - not entirely sure it deserved the full week’s effort(!) - but once I started I couldn’t stop. I hate painting - especially drivers - as they need to be as perfect as I can get them - takes hours and you hardly see them!
-
Now to finish the decals…
-
3
-
-
Quick update. After taking alvinlwh’s advice - and basically manning the **** up…. And taking some brave pills. And a lot of sanding with super fine grit to remove mistakes…. have achieved this (masking was impossible due to the curves and recesses etc…):
-
6
-
-
Ha. I went full-psycho on mine. I decided the prepainted firedragon body was too see-through. So masked it and backed in white and then black!
We have VERY hard water and I haven’t had any issues with staining or discolouration for what it’s worth.
-
Are you au fait with the dunk it through soapy water, spray soapy water onto the body, apply decal, and then dab with a paper towel and use a hairdryer to “set” and also form around undulations in the body-method?
It genuinely transformed my enjoyment of the hobby - which is highly focused (almost exclusively so….) on the build process.
And you definitely have to show it to us now though!
-
1
-
-
Ah of course the 934…
Green version of the Grasshopper is a sticker too I think? And the RX Buggy Memorial. Not quite a black version though…?
-
31 minutes ago, Juhunio said:Monster Beetle was standard box-art box with a 'Black Edition' sticker
Oh I didn’t realise that. So…. Just the Lunch Box then?
-
For black editions (rather than “black specials”….) they did box art, no? (Monster beetle, lunch box…. Erm. What else was there?)
-
12 minutes ago, Superluminal said:You've widened the rear track width....looks really good!
Yep - and thanks! After initially building it I thought it looked awful! I was looking at wider after-market aluminium hubs, and then stumbled across a you tube video of someone who’d used the wider rear arms - and I had a spare set from my Dynahead…. Wheels are fractionally too far forwards, but depends on the height, which I might play around with after eventually sorting the bumper. But a definite improvement to widen the rear track!
-
3
-
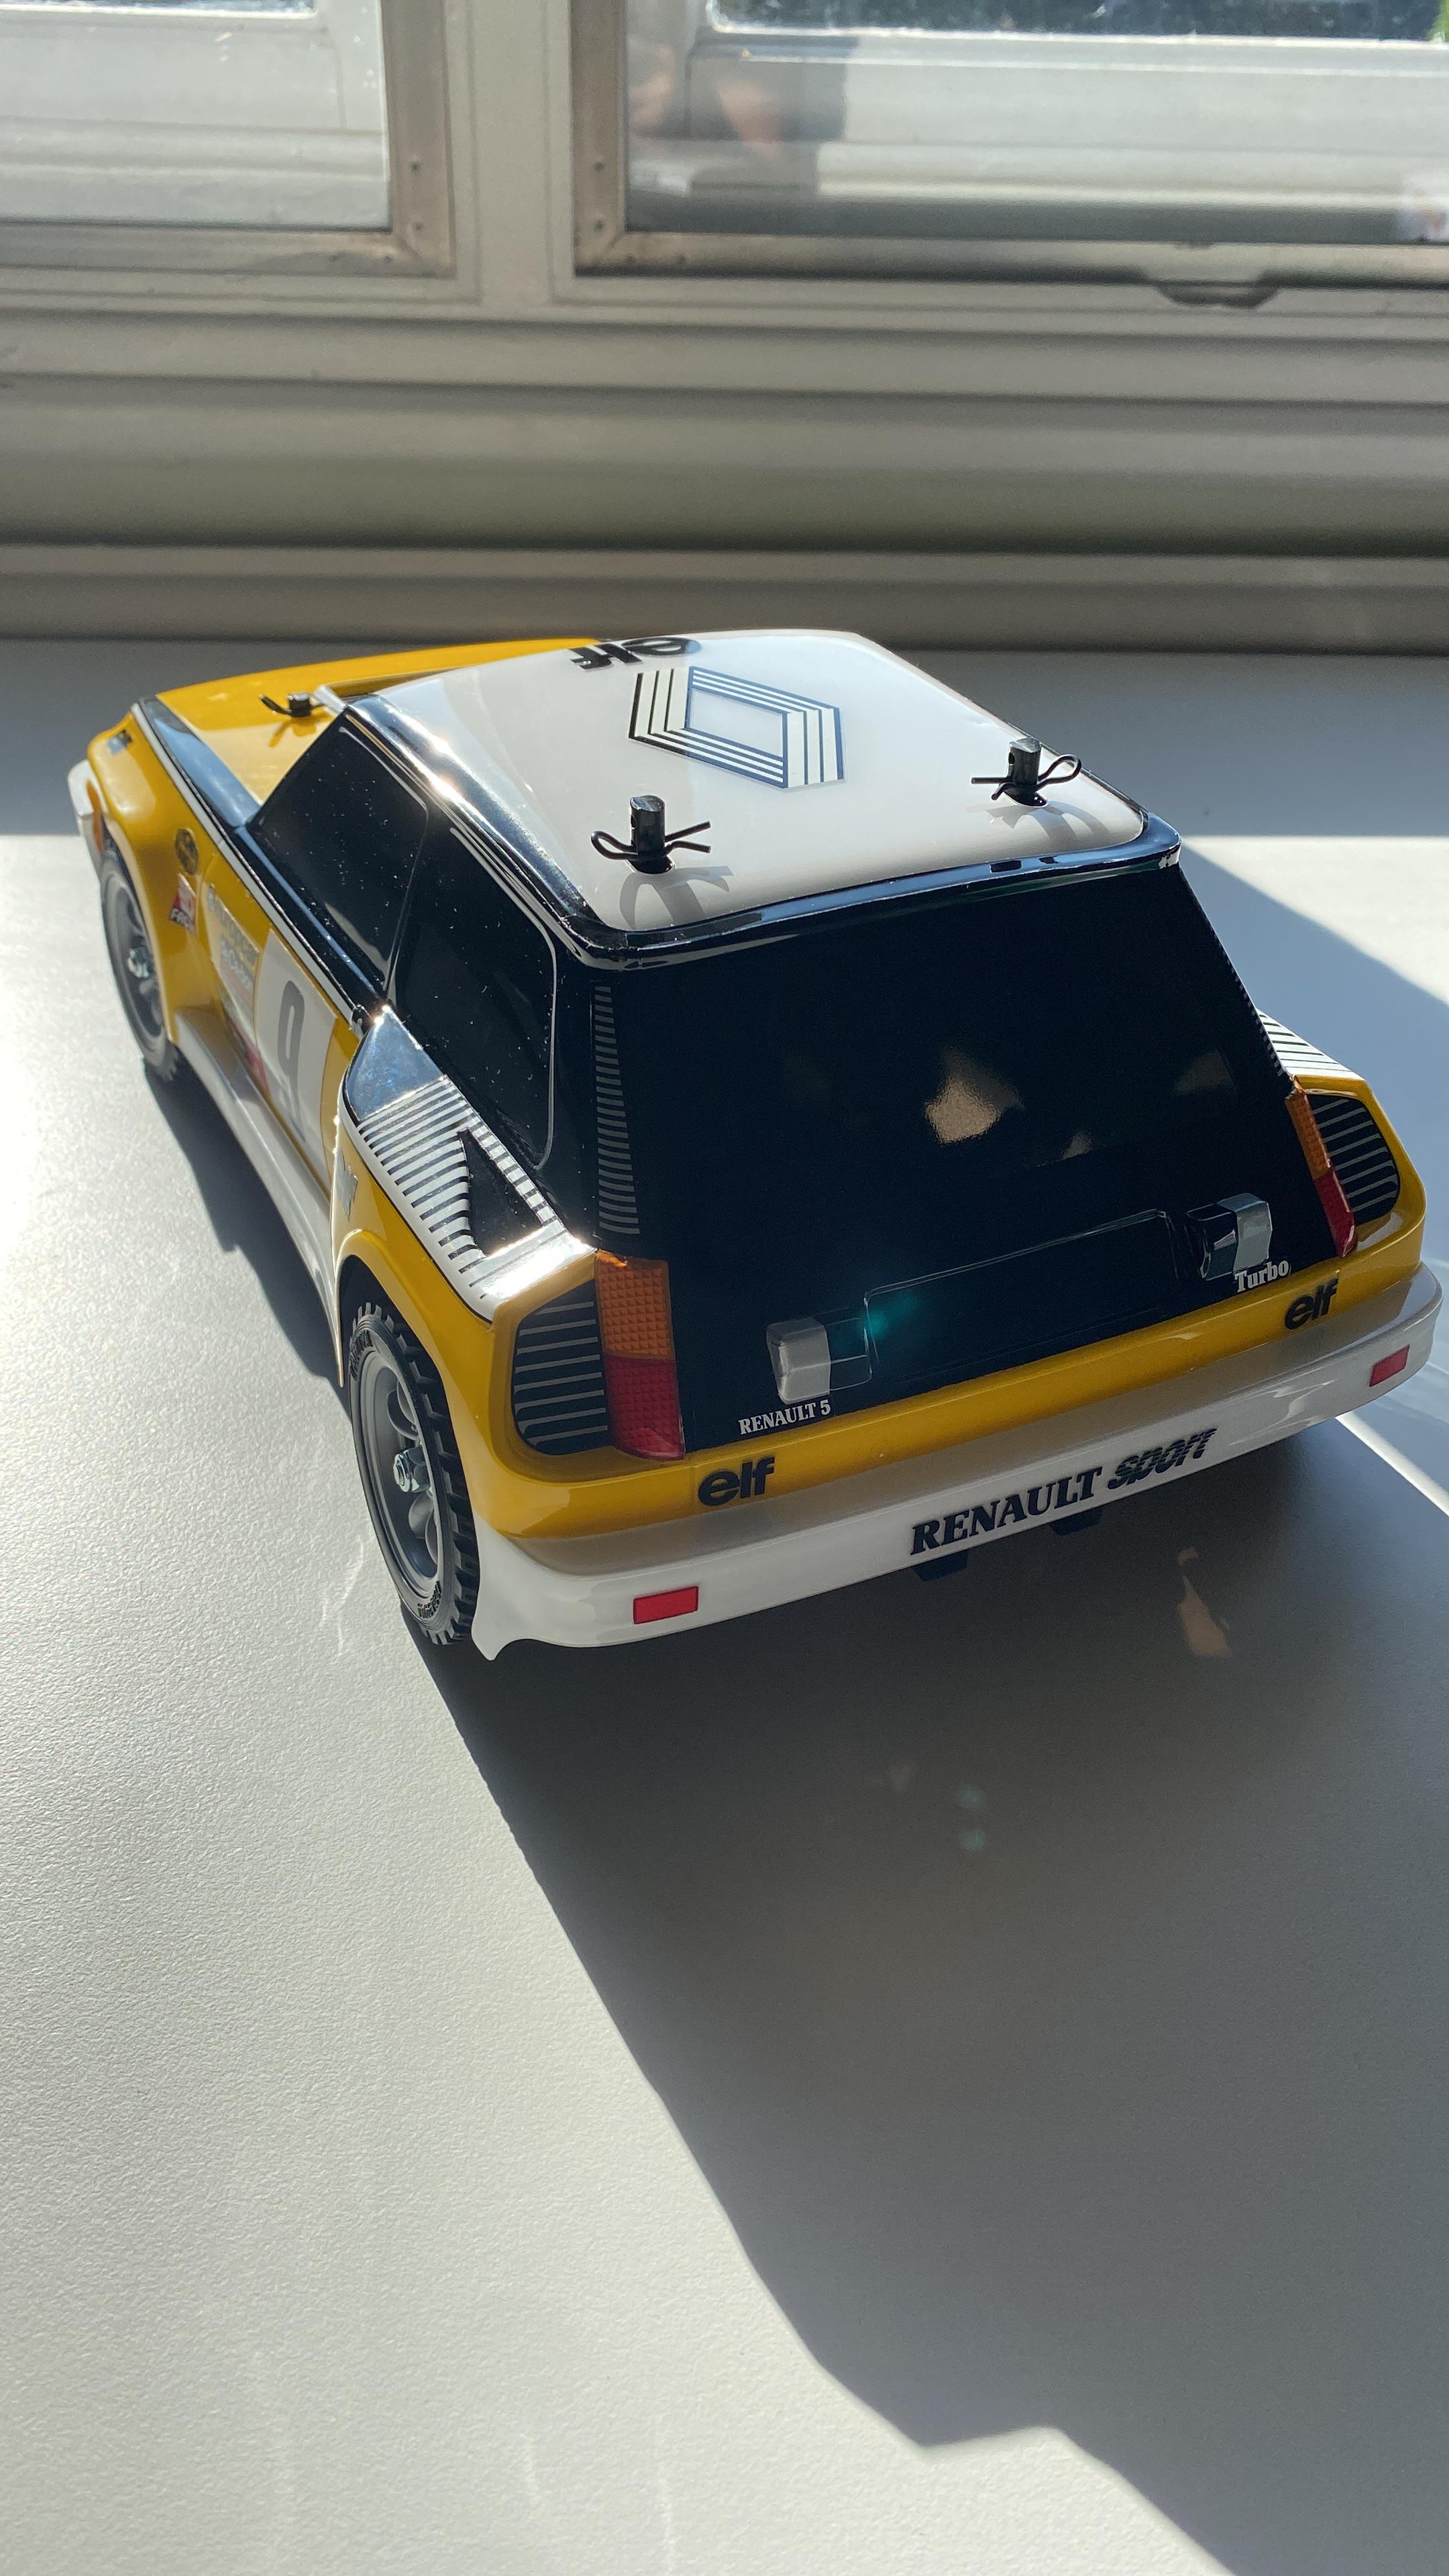


Renault 5 Turbo - Bumper
in Build Tips and Techniques
Posted